How to Make Mulch for Better Soil Step-by-Step Guide
The Importance of Mulch in Gardening
Creating your own mulch is not simply a rewarding project; it’s a crucial investment in the health of your garden soil. A well-prepared mulch can significantly enhance soil quality, increase moisture retention, and suppress weed growth. By taking the time to craft your own mulch, you’ll yield numerous benefits that not only improve your garden’s aesthetics but also its overall ecosystem.
Understanding the benefits of mulch can motivate you to embark on this gratifying task. Here are some key reasons to consider homemade mulch:
- Improves Soil Structure: Organic mulch, such as shredded leaves or wood chips, breaks down over time, enriching the soil with vital nutrients. This process enhances the microbial life in the soil, promoting healthier plant growth.
- Water Conservation: Mulch acts as a natural barrier, significantly reducing evaporation from the soil surface. By keeping moisture levels steady, it aids in providing your plants with a consistent supply of water, especially during hot summer months.
- Weed Suppression: A thick layer of mulch can prevent weeds from germinating and thriving. By blocking sunlight, it hampers their growth and gives your desired plants a competitive edge in accessing nutrients.
Whether you’re using materials like grass clippings, leaves, or bark, each type contributes uniquely to your soil’s vitality. For example, grass clippings release nitrogen into the soil as they decompose, providing essential nutrients that promote healthy plant growth, while wood chips offer longer-lasting coverage. Leaf mulch, on the other hand, provides excellent insulation for roots during colder months, safeguarding your plants from frost damage.
In the upcoming sections, we’ll explore various materials you can use and provide detailed steps to create mulch tailored to your garden’s specific needs. By utilizing local resources—such as collecting fallen leaves in the autumn or using grass clippings from your lawn—you can enhance your soil’s fertility while being kind to your wallet.
Get ready to transform your garden into a lush and thriving landscape! With the right materials and methods, homemade mulch can become a cornerstone of your gardening strategy. Let’s dive into the steps and materials that will help you achieve the vibrant garden of your dreams.
CHECK OUT: Click here to explore more
Choosing the Right Materials for Your Mulch
When it comes to creating an effective mulch, selecting the right materials is foundational to ensuring that your garden flourishes. Various organic options can be utilized, each offering unique benefits to your soil health. Here’s a breakdown of some popular mulching materials that you can easily source:
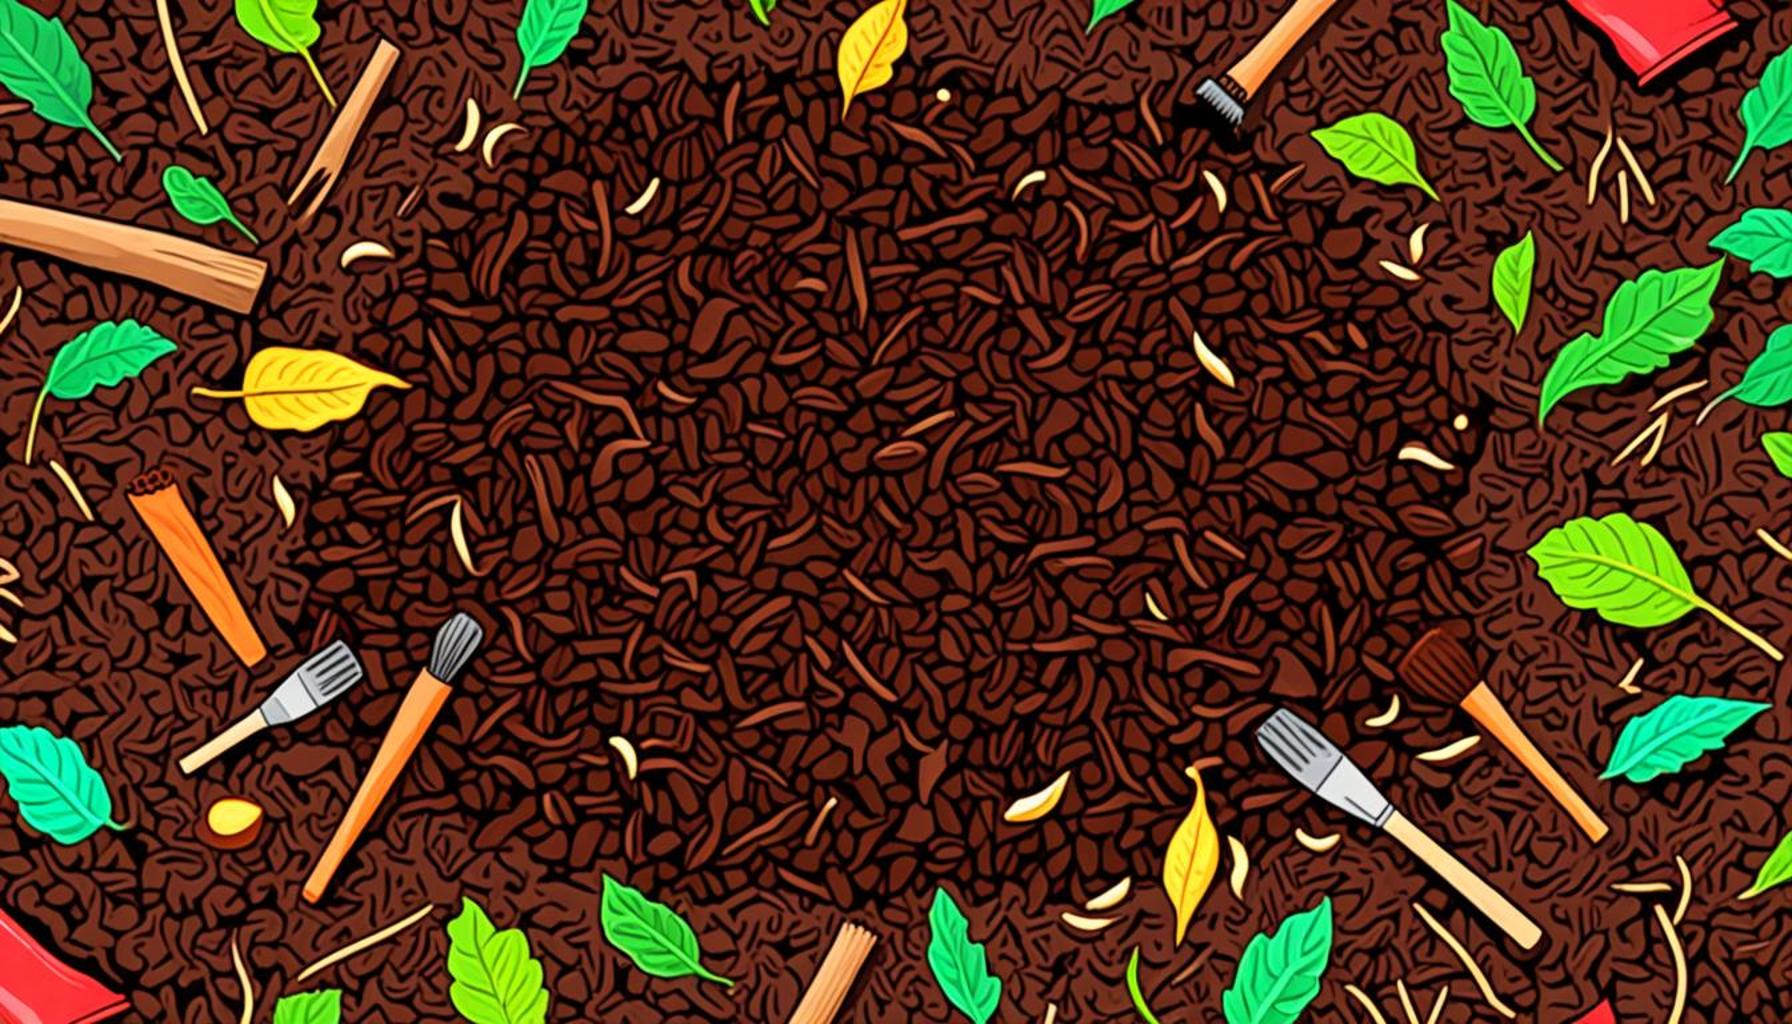
- Grass Clippings: Freshly cut grass is rich in nitrogen, making it a terrific addition to your mulch. However, it’s important to let clippings dry out before applying them, as a damp layer can lead to odors and attract pests. A thickness of about 1 to 2 inches is optimal.
- Leaves: Autumn leaves are a treasure trove for gardeners. When shredded, they decompose relatively quickly and improve soil structure. Leaf mulch also provides a natural blanket insulating roots during the winter months. Aim for a layer that is 3 to 4 inches deep for maximum effectiveness.
- Wood Chips: Known for their durability, wood chips can offer a long-lasting mulch option. They break down slowly, providing continuous nutrient release over time. A thickness of approximately 2 to 3 inches can help suppress weeds while allowing water to penetrate.
- Straw: Straw offers great protection for roots and suppresses weeds effectively. It also improves air circulation, which is beneficial for soil health. For best results, apply a layer that’s about 4 to 6 inches thick.
Beyond these common materials, consider exploring other organic options such as shredded bark, pine needles, or even compost. Each item can enhance your soil differently and contribute to a diverse ecosystem within your garden.
To maximize the benefits of your mulch, think about the specific needs of your plants and the conditions of your garden. For example, plants that require well-drained soil may benefit from mulches that allow for more airflow, such as wood chips. In contrast, moisture-loving plants will thrive best with denser materials like grass clippings or straw. Understanding these idiosyncrasies can help you select the best mulch for your horticultural goals.
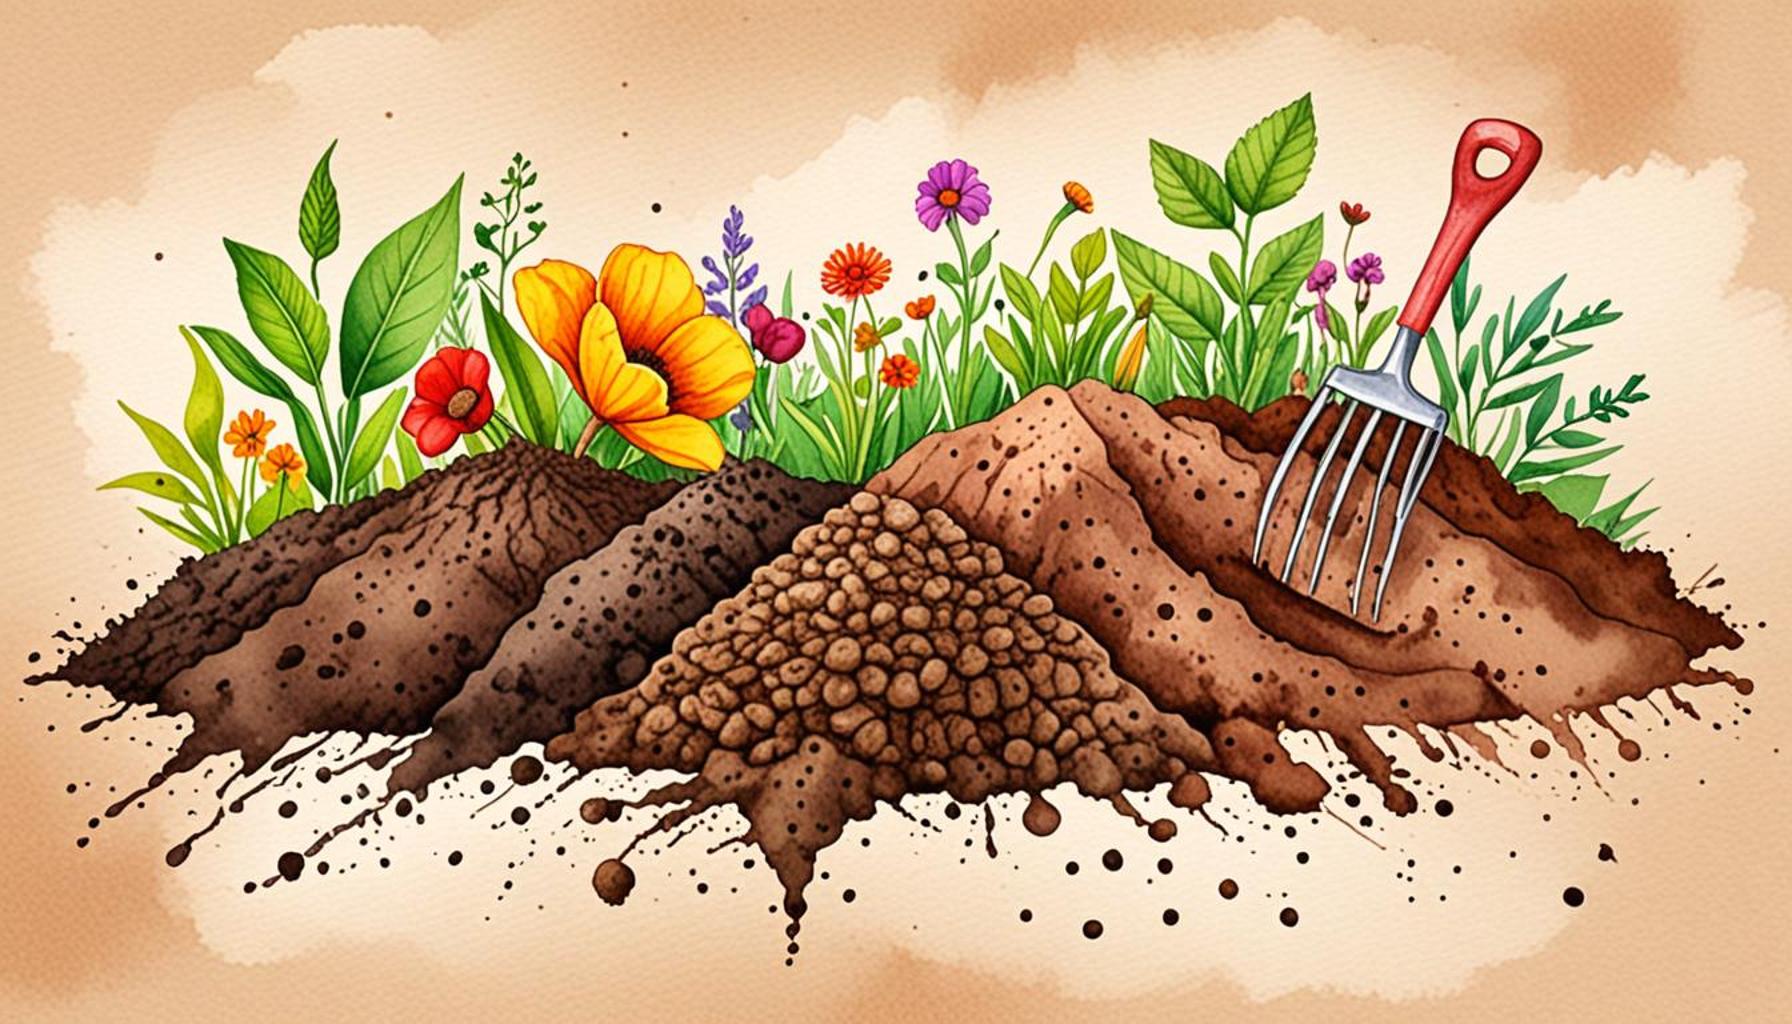
Preparing Your Mulch
Once you have chosen the appropriate materials, the next step is the preparation. Properly preparing your mulch ensures that it serves its intended purpose effectively. Here’s a simple process to guide you through:
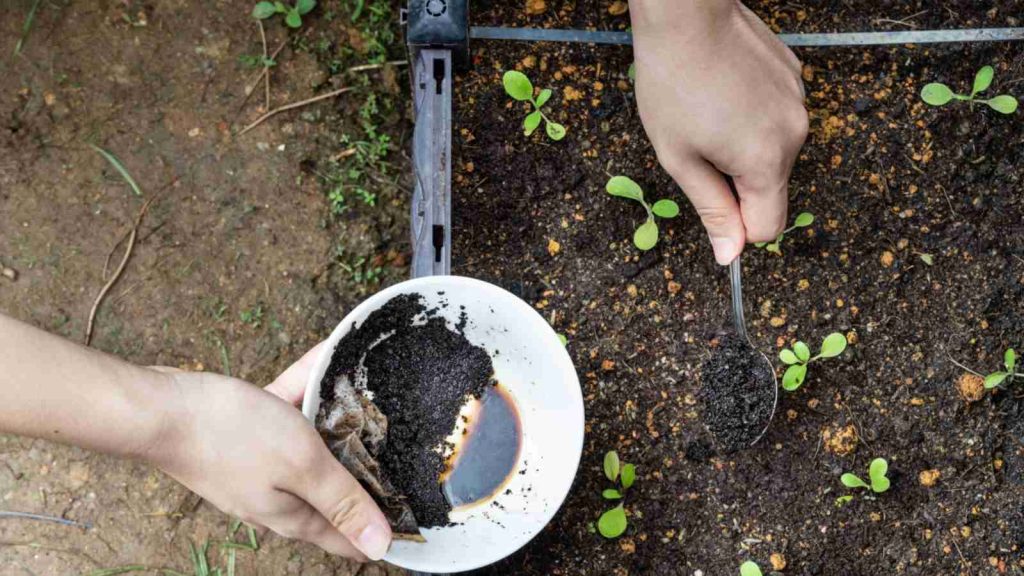
- Gather Materials: Collect your chosen organic materials. If you’re using leaves, grass, or straw, make sure they are dry and free from pesticides or chemicals.
- Shred for Efficiency: Depending on the materials chosen, using a shredder can expedite the decomposition process. Shredded leaves or grass clippings will break down faster and provide a quicker boost to your soil.
- Composting (Optional): For an even richer mulch, consider composting your materials for a few months before applying them. This process can enhance their nutrient profile and effectiveness.
By taking these steps, you’ll create a high-quality mulch that can benefit your garden for years to come. The journey to better soil starts with understanding your materials and preparing them thoughtfully, setting you up for success as you transform your space into a thriving garden oasis.
How to Create Effective Mulch: Step-by-Step Instructions
Creating your own mulch is not only an eco-friendly practice, but it also ensures that you have high-quality material tailored to the specific needs of your garden or landscape. In this section, we will delve into the step-by-step process of making mulch that enhances soil quality, promotes healthy plant growth, and contributes to sustainable gardening.
Step 1: Gather Your Materials
Start by collecting organic materials that can be transformed into mulch. Options include shredded leaves, grass clippings, straw, wood chips, or even kitchen scraps like vegetable peelings. Mixing various materials will provide a broader range of nutrients and improve the texture of your mulch.
Step 2: Create a Compost Pile
Before mulching, it’s crucial to create a compost pile. Choose a designated area in your yard, pile together your organic materials, and layer them. Aim for a mix of carbon-rich “brown” materials (like dry leaves and straw) and nitrogen-rich “green” materials (such as grass clippings and vegetable scraps). Maintain a balance to promote microbial activity and decomposition.
Step 3: Monitor the Decomposition
Allow your compost pile to decompose for about 3-6 months, turning it occasionally to aerate and speed up the process. This step ensures that pathogens and weed seeds are broken down, resulting in healthier mulch.
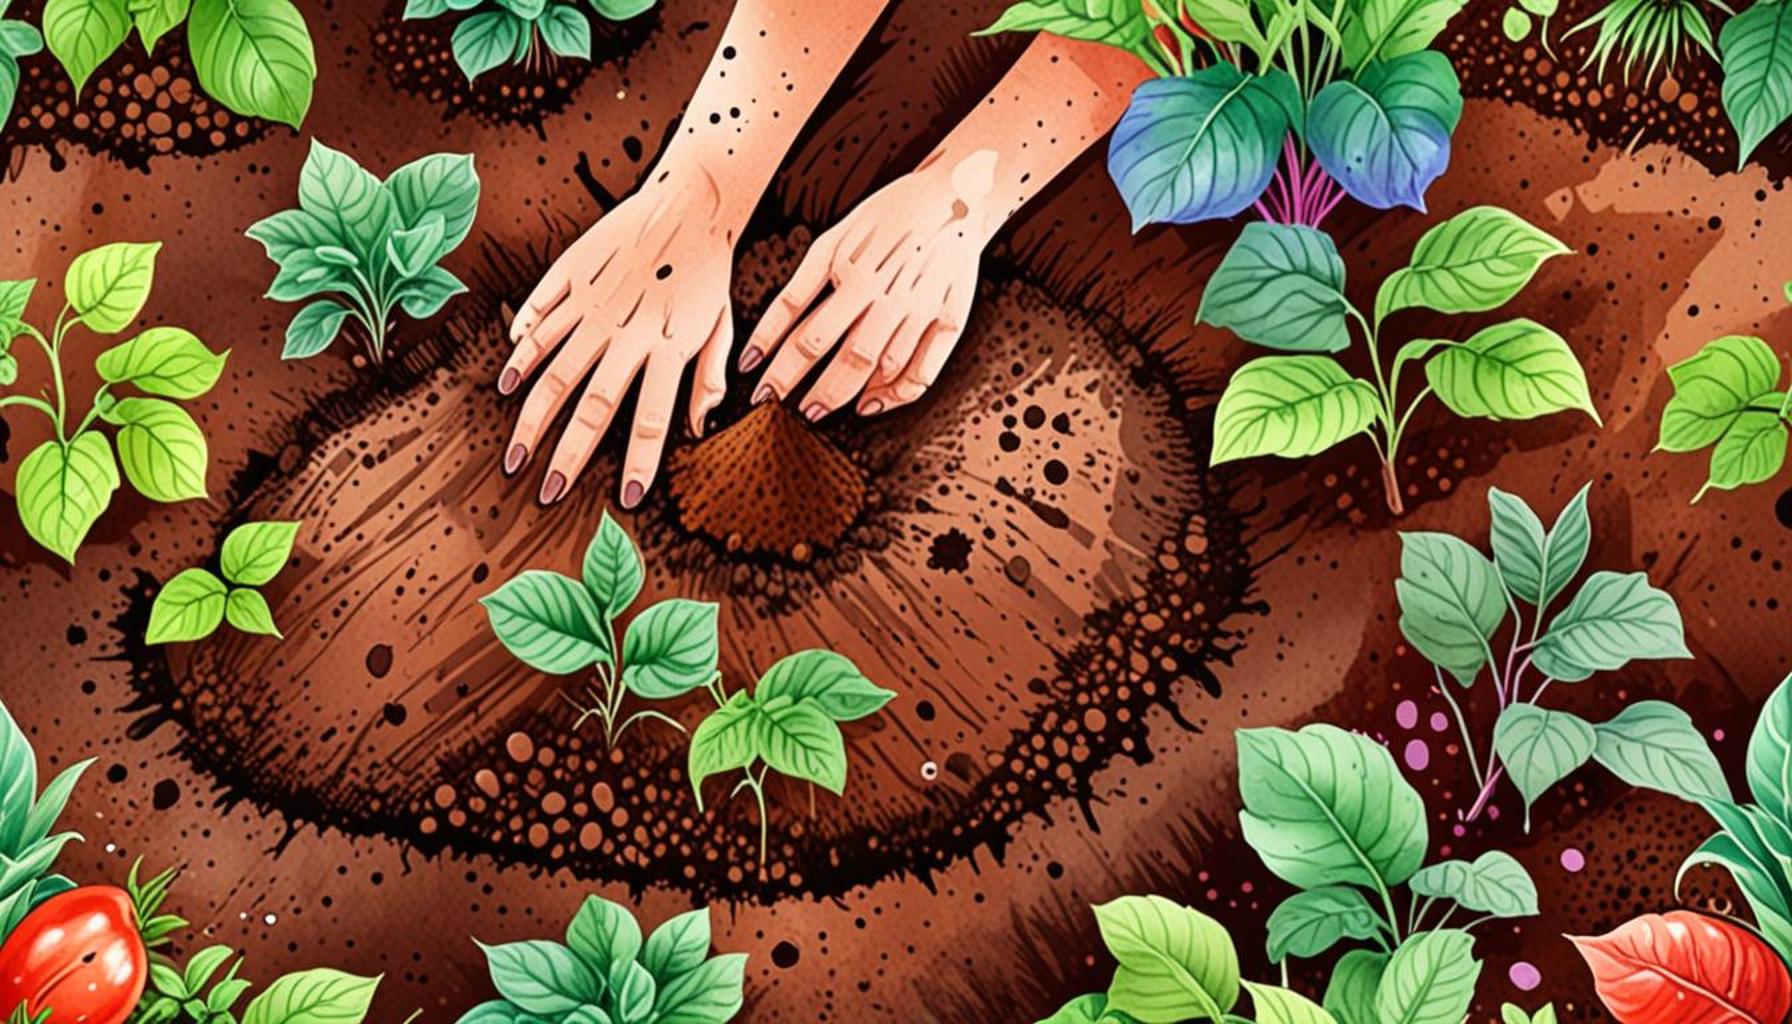
Step 4: Apply Your Mulch
Once your compost is ready, it’s time to apply it as mulch. Spread a layer of about 2-4 inches around your plants, avoiding contact with plant stems. This layer will help retain moisture, suppress weeds, and gradually enrich the soil as it breaks down.
Step 5: Maintain Your Mulch
After applying mulch, keep an eye on its condition. Supplement with new material as it breaks down and replenish any areas where mulch has thinned out. Over time, the mulch will decompose, enriching your soil with organic matter, enhancing its structure, and providing a habitat for beneficial organisms.By following these steps, not only will you create effective mulch, but you’ll also contribute to a healthier ecosystem within your garden. Embrace the process, and you’ll discover that making mulch can be both gratifying and highly beneficial for your soil health.
| Category | Benefits |
|---|---|
| Organic Material | Improves soil fertility and structure |
| Water Retention | Reduces the need for frequent watering |
| Weed Suppression | Minimizes competition for nutrients with plants |
| Temperature Regulation | Keeps soil cooler in summer and warmer in winter |
By selecting the right materials and following these thoughtful steps, you can effectively implement mulch that not only benefits your garden but aligns with eco-friendly practices. Happy mulching!
SEE ALSO: Click here to read another article
Applying Your Mulch Effectively
Now that you have prepared your mulch, the next crucial step is applying it efficiently to maximize its benefits for your soil and plants. The application process can influence not only the health of your garden but also its aesthetic appeal. Follow these guidelines to ensure that your mulch does its job effectively:
- Choose the Right Time: Timing your mulch application is essential. Ideally, apply mulch either in the spring after the last frost or in the fall before your first frost. These times allow the soil to benefit from insulation in winter and moisture retention in summer. Avoid applying mulch during wet, rainy periods, as this could lead to the material clumping together, hindering its effectiveness.
- Prepare the Soil: Before applying your mulch, take a moment to prepare the soil. Clear away any weed growth, debris, or old mulch from previous seasons. Loosening the soil with a rake can further encourage water penetration and root health.
- Apply Evenly: Spread the mulch evenly across the soil surface, ensuring that you maintain a consistent thickness. The layer should ideally be around 2 to 4 inches, with variations depending on the material used. For instance, lighter mulches may need a thicker layer compared to denser materials to effectively suppress weeds.
When applying mulch around plants, ensure that you leave a small gap—around 2 to 3 inches—between the mulch and the base of the plant stems. This technique prevents moisture from accumulating at the base and deterring rot or disease.
Maintaining Your Mulch
Once your mulch has been applied, maintenance is paramount to keep your garden thriving. Over time, organic mulch decomposes, and you may need to refresh it to continue reaping its benefits. Here are a few maintenance tips:
- Monitor Thickness: Regularly check the depth of your mulch. In the summer months, especially, you may find that it compacts or degrades quicker due to moisture. Reapply as necessary to maintain that optimal thickness.
- Weed Control: Though mulch suppresses weed growth, it’s not entirely foolproof. Regularly monitor for weeds that may break through and promptly remove them. This way, your plants will have better access to nutrients and water.
- Seasonal Adjustment: Mulch may need different treatments depending on the season. In fall, mulching can serve as an insulating layer protecting the roots. In spring, add a fresh layer to promote growth as the soil warms up.
Additionally, if you notice your mulch breaking down significantly, consider adding compost or more organic matter to enhance its nutrient content. Mulching isn’t a set-and-forget endeavor; it requires ongoing attention, but with diligence, it can contribute to incredible soil health and plant vigor.
By understanding the application and maintenance of mulch, you will foster a flourishing garden that thrives season after season. The nuances of your mulching application might encourage even further exploration into different mulching techniques and the science behind soil health.
CHECK OUT: Click here to explore more
Conclusion: Transform Your Garden with Effective Mulching
In conclusion, mastering the art of making and applying mulch can significantly enhance your garden’s health and appearance. By following the step-by-step guide outlined in this article, you can create organic mulch that not only provides essential nutrients to your soil but also promotes moisture retention, suppresses weeds, and regulates temperature. Remember that selecting the right materials, applying the mulch at the appropriate time, and maintaining its quality are key elements for achieving optimal results.
As you integrate mulching into your gardening practices, consider exploring various materials, from wood chips to straw, and how they can benefit different types of plants. Furthermore, adopting a routine to monitor and refresh your mulch will yield long-lasting advantages for both your soil and plants. Take this knowledge further—experiment with different mulching techniques, combine materials for a tailored approach, or even delve into the sustainability aspects of mulching to create a more environmentally friendly garden.
Ultimately, effective mulching is not just a gardening chore; it is an impactful strategy that contributes to soil health, promotes plant vitality, and fosters an ecosystem where your plants can thrive. Embrace these practices, and witness the transformation of your garden as it flourishes through the seasons.